Introduction
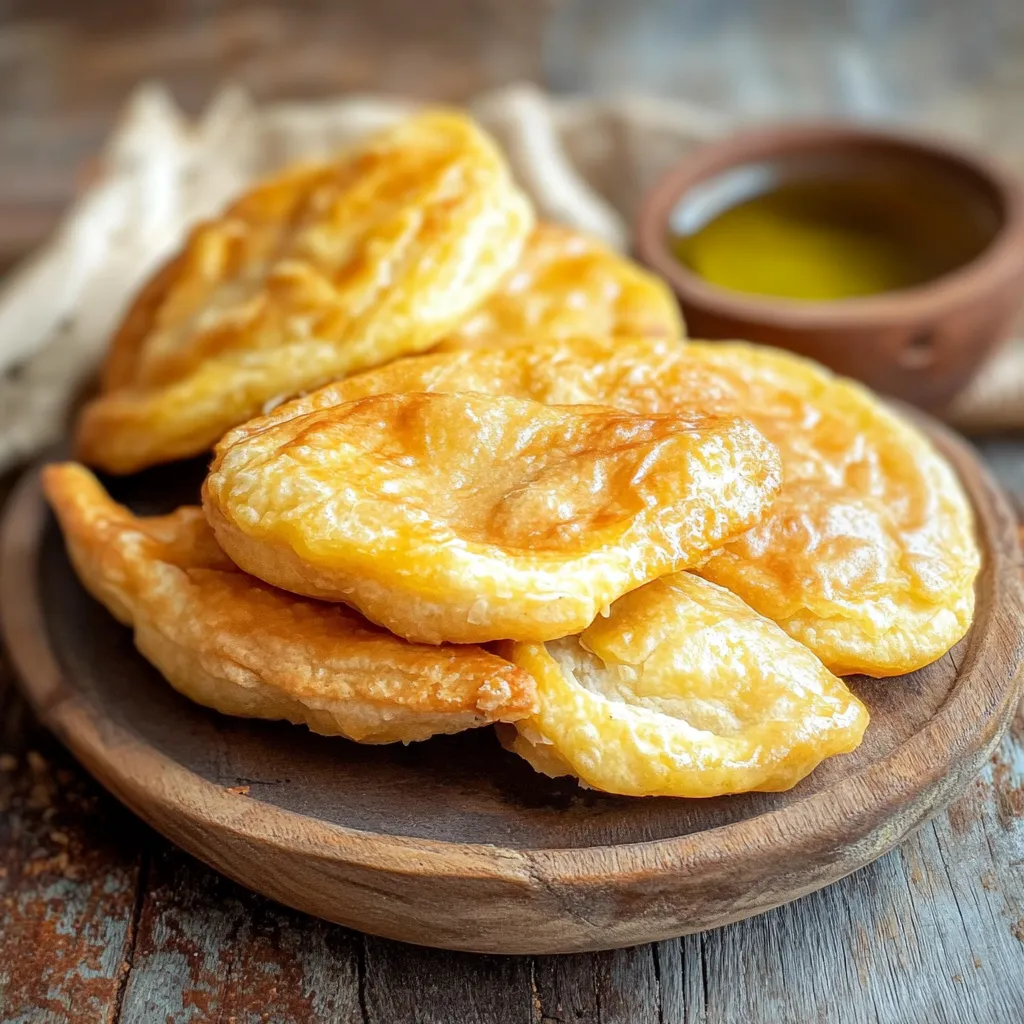
Indian Frybread is more than just a delicious treat; it’s a symbol of resilience and a rich cultural heritage. This traditional dish has deep roots in Native American history and is cherished for its simple ingredients and satisfying, crispy texture. Whether you’re making it for the first time or it’s a staple in your kitchen, this guide will walk you through the steps to create perfect, golden-brown frybread every time.
Ingredients
- 4 cups all-purpose flour
- 1 tbsp baking powder
- 1 tsp salt
- 1 1/2 cups warm water
- Vegetable oil for frying
Directions
1. Prepare the Dough
- In a large mixing bowl, combine the flour, baking powder, and salt.
- Gradually add the warm water, mixing with a wooden spoon or your hands until a soft dough forms. The dough should be slightly sticky but manageable.
- Turn the dough out onto a floured surface and knead it gently for about 5 minutes until it becomes smooth and elastic.
2. Let the Dough Rest

- Cover the dough with a clean kitchen towel and let it rest for at least 30 minutes. This allows the gluten to relax, making the dough easier to work with.
3. Shape the Frybread
- After the dough has rested, divide it into small balls, roughly the size of a golf ball.
- On a lightly floured surface, flatten each ball with your hands or a rolling pin into a round disc, about 1/4 inch thick. The shape doesn’t need to be perfect; each piece of frybread is unique.
4. Fry the Bread
- Heat about 2 inches of vegetable oil in a large, deep skillet or Dutch oven over medium-high heat. The oil is ready when a small piece of dough sizzles and rises to the surface.
- Carefully place one piece of dough into the hot oil. Fry for about 2-3 minutes on each side, or until golden brown and puffed up. Use tongs to flip the bread and ensure even cooking.
- Remove the frybread from the oil and place it on a plate lined with paper towels to drain excess oil. Repeat with the remaining dough.
5. Serve and Enjoy
- Serve the frybread warm, either as a savory dish topped with meats and vegetables, or as a sweet treat with honey, powdered sugar, or jam.
Helpful Tips
- Oil Temperature: Ensure the oil is hot enough before frying to achieve a crispy exterior and soft interior. If the oil is too cool, the bread will absorb too much oil and become greasy.
- Resting the Dough: Don’t skip the resting time. It makes the dough easier to shape and results in a lighter frybread.
- Serving Ideas: Frybread is incredibly versatile. Top it with taco fillings for an “Indian Taco,” or enjoy it with a dusting of cinnamon sugar for a sweet treat.
Substitutions/Variations
- Whole Wheat Flour: For a healthier twist, substitute half of the all-purpose flour with whole wheat flour.
- Gluten-Free: Use a gluten-free flour blend in place of all-purpose flour to make gluten-free frybread.
- Add-ins: Mix in a bit of sugar or milk to the dough for a slightly sweeter or richer flavor.
Frequently Asked Questions
Can I make the dough ahead of time?
Yes, you can make the dough ahead of time and store it in the refrigerator for up to 24 hours. Let it come to room temperature before frying.
What’s the best way to reheat frybread?
Reheat frybread in a preheated oven at 350°F for about 5-7 minutes, or until warmed through. This helps to retain its crispiness.
Can I bake frybread instead of frying it?
Traditional frybread is, as the name suggests, fried. However, you can bake it at 375°F for about 15-20 minutes, flipping halfway through, for a slightly healthier version.
Storage Instructions
Store leftover frybread in an airtight container at room temperature for up to 2 days. For longer storage, wrap each piece individually in plastic wrap and freeze for up to 3 months. Reheat before serving.
More Relevant Recipes
- Country Apple Fritter Bread Recipe | Easy & Delicious
- The Ultimate Guide to Making Jamie Oliver’s Delectable Chocolate Brownies
- Delicious Pizza Balls: Your New Favorite Snack
Thank you for exploring the rich tradition of Indian Frybread with me. Whether you’re making it for the first time or continuing a cherished tradition, this recipe brings a piece of cultural heritage into your kitchen. Enjoy your cooking!